


First, paint your nails with your favourite base colour, but keep it light and preferably pastel, so the spots will be more obvious. I'm using 83 First Blush from Sally Hansen Hard as Nails Xtreme Wear nail colour, it's a really pale pink colour. Anyway, try to apply it as even as possible and make sure it is COMPLETELY dry before you continue ^^


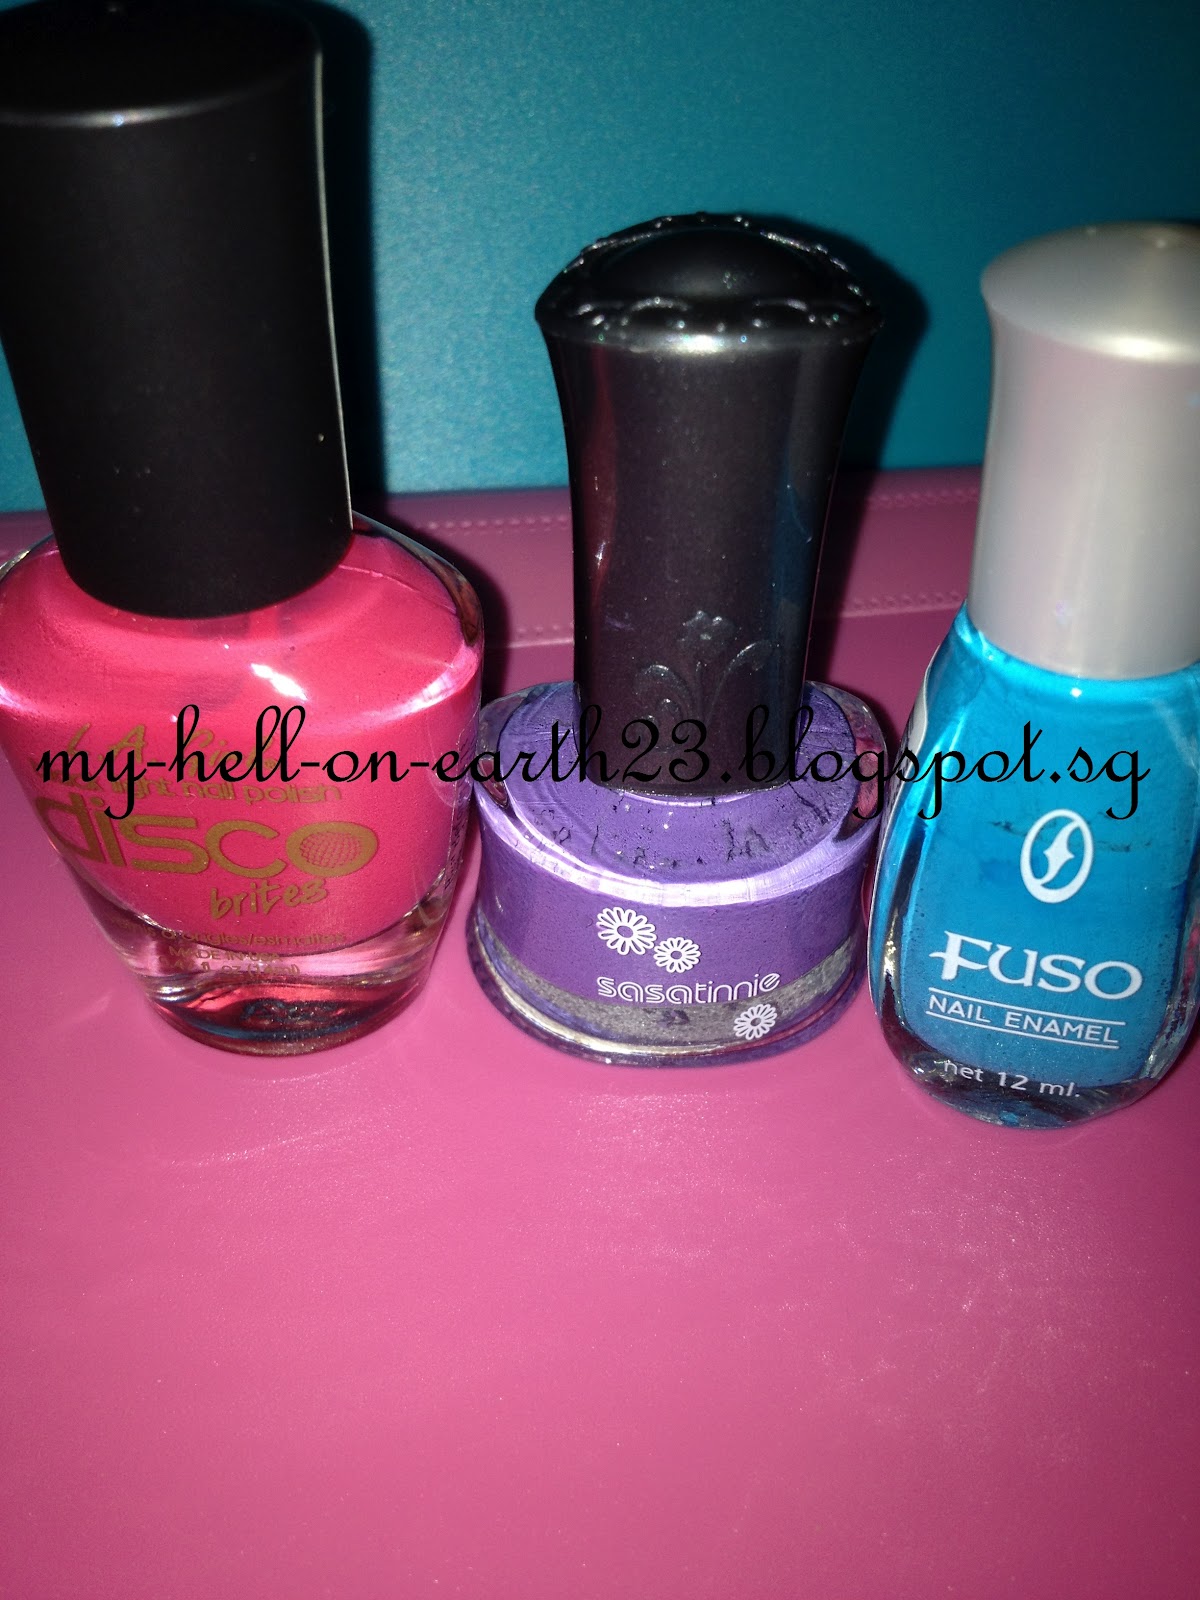
Next, choose some of your favourite colours. I chose bright colour to make the spots stand out. The polishes I'm using are LA Girls Black Light Nail Polish in NL79 Chic (Hot Pink), some nail polish I got from Sasa (Purple) and some cheap polish I got cos' I really liked the colour (Blue). Using a bobby pin (I don't have nail dotting tools cos' I can't find them anywhere! I know Sephora has but when I went there it was out of stock :( So I use normal household items), add random dots on your nails. Make sure they are some distance apart, so the next step will be a lot easier


Once the dots have dried, I use a pencil (again, no dotting tool) to outline the dots with a thick black line. It's important that the line does not become a full circle surrounding the dot or touch the line of another dot. Once done, add some random small black dots

Okay! So you're done! Although you should apply a layer of clear top coat to help protect the polish. It should look something like this:

I know now it doesn't look very nice compared to the ones at the top of the post, so I might redo it in the form of a video tutorial and post it on Youtube... I'll inform you guys when I've done it! :)
No comments:
Post a Comment