When I was planning on doing this, I was initially going for an ombre look, but when I was actually doing it, I got lazy and settled for a dip dye :p

Since I have pretty dark hair, I needed to bleach it before I could dye it. I bought this bleach from a shop called Venus Beauty at White Sands in Pasir Ris. They also have other outlets across the country but this was convenient for me since I was travelling towards the east! :)

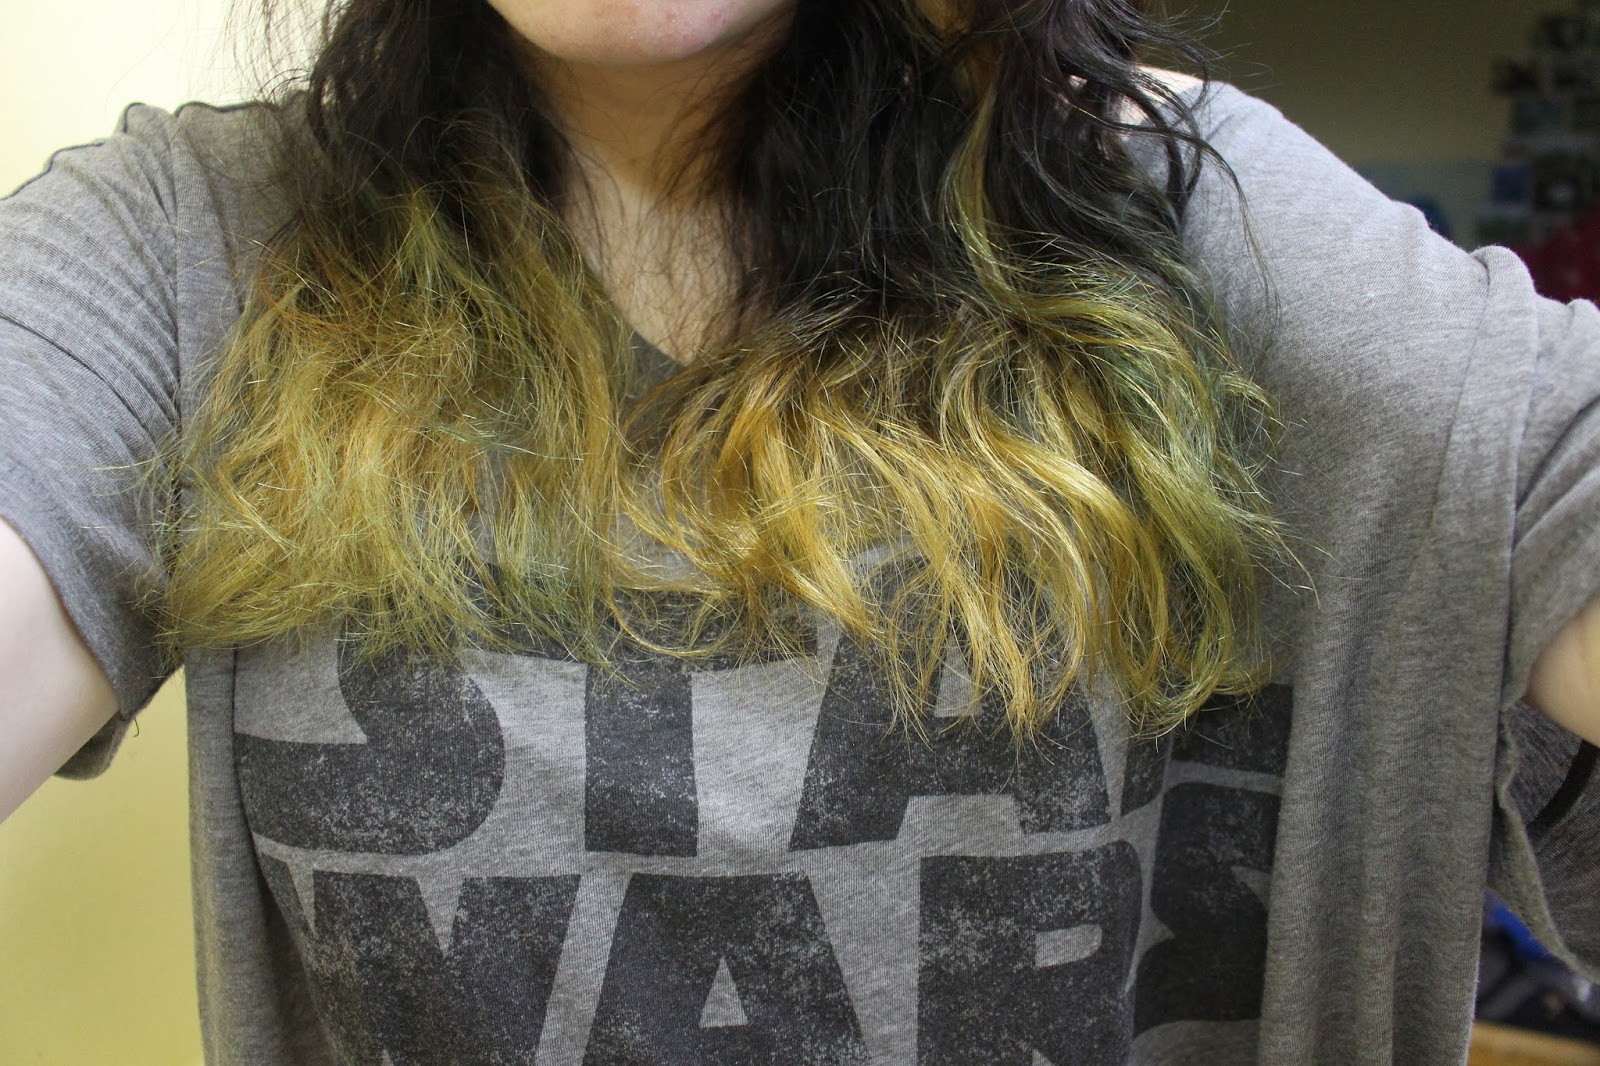
As you can see, I bought two of the bleaching powder and two of the 40 vol developer. I did some research before hand and everyone recommended 40 vol developer for people with darker hair. The down side, its more damaging compared to 30 vol or lesser developers. Also, I got two of each because I wanted to use one set and keep the other for another time, but I ending up opening both sets. Anyway, I did two rounds of bleaching. The first round I left the bleach in for about 30 minutes then I rinsed and shampooed the ends. The second round I left it in for about 45 minutes and again I rinsed and shampooed. This is the bleaching result. I was left with some green bits, I guess it was because I had purple in my hair prior to bleaching my hair, so I guess the bleach wasn't properly applied on some bits, resulting in only making the purple green rather than bleaching it to a blonde? Oh, and as for mixing the mixture of developer and bleaching powder, I did it in a small plastic container and used an old toothbrush to mix it together and also apply it to some bits of my hair. I mainly just applied the bleach with my hands (using gloves of course!). I ended up using about one and a half packets of the bleaching powder and only one bottle of the developer for two rounds of bleaching. I didn't measure any the products before mixing them, I just winged it till I felt that the mixture looked right.


Now time to dye the bleached ends! (even though I kinda liked the look of the bleached ends). I have a couple of dyes from La Riche Directions, colours ranging from purple to green, some opened others still unopened. I decided to go with the colour Cerise.


Cerise turned out to be very very bright, even after mixing it with a lot of conditioner. The conditioner I used to tone down the dye was Herbal Essences Long Term Relationship since it also was pink in colour (how convenient!) and also because it was my favourite conditioner of the moment. I mixed it in the same container as the one I used to mix the bleach and also used the same toothbrush to make sure the conditioner and dye was evenly mixed. Again, I didn't measure how much conditioner or dye I used, I just winged it till I felt it was alright. I applied the dye straight to my bleached ends and left it in for 15 minutes. After 15 minutes, I rinsed and conditioned, I didn't shampoo my hair. This is the result! Pink with bits of blonde and green. Sounds weird but I really like it! Since the dye I used is a semi-permanent dye, the pink will eventually fade :( When it does, I'll probably dye it a different colour, maybe apple green? I'm also thinking of trying pastels, like maybe a nice pastel blue? Who knows!


A little info on the condition of my bleached ends for those interested in doing this themselves:
When I first bleached my hair, it felt very dry and 'hay like' as bleach is very damaging. However, it now feels and looks less dry and in fact is really soft too due to lots of special care and attention ^^ I might do a post on how I care for my dip dyed ends :)
That is all for now :)


